


Remove Background from Images Online

Turn product photos and portraits into transparent cutouts for your next design.

One subject. A whole new canvas.

Remove the background from a product or portrait. Take the transparent cutout into your editor and give it a new place in the design.

Everyday essentials

Carry a little character.

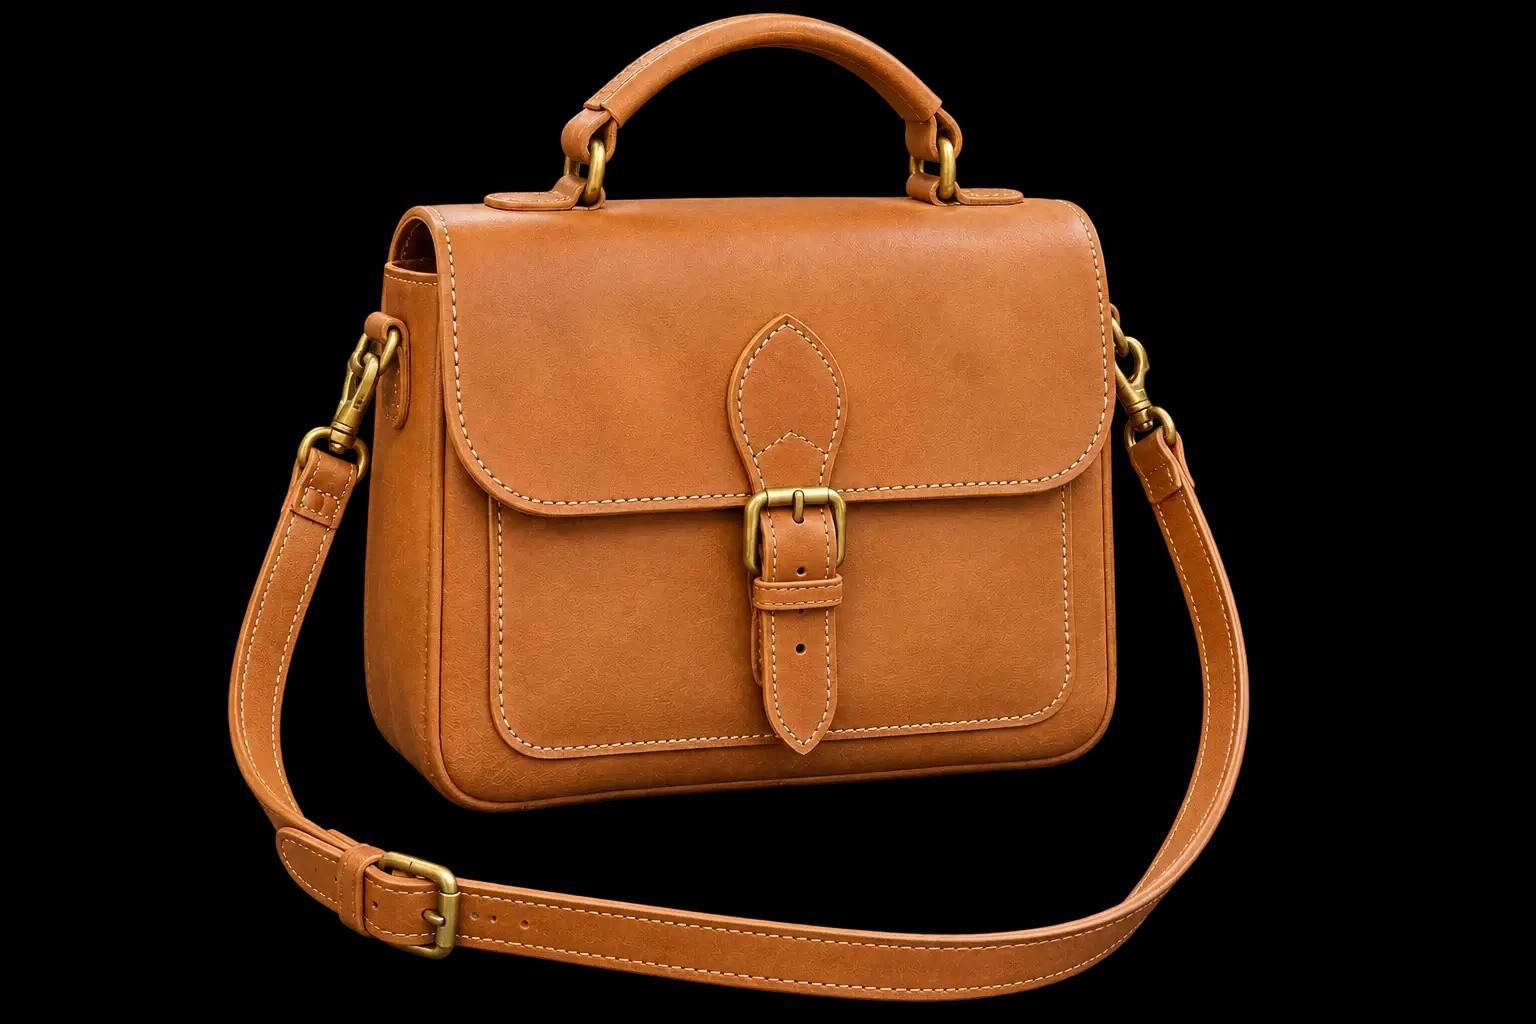
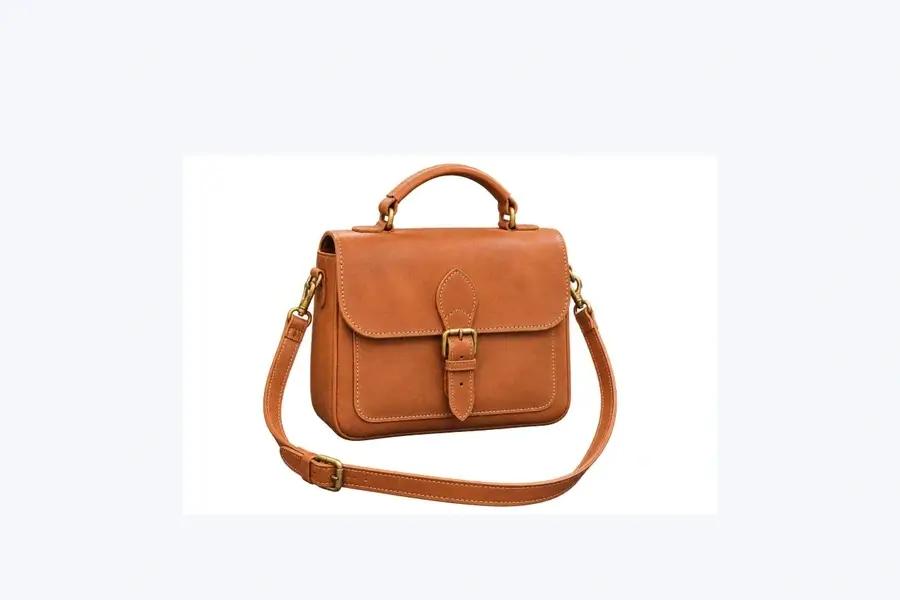
Tan leather satchel with its handle and shoulder strap isolated on a transparent background

Build a product story around the item itself. A transparent bag image gives you room to choose a quieter setting, place a headline beside it, and carry the same item into a catalog or campaign layout in your editor.

Meet the makers

Ideas with a human touch.

Woman with loose dark curls and a white linen shirt isolated on a transparent background

Give a person a clear introduction. Move the portrait to one side of a speaker graphic or creator page, then use the open space for a name, a role, or a short message that belongs with the face.

Everyday listening

Find your quiet.

Sage-green over-ear headphones with a padded headband isolated on a transparent background

Let color set the mood of a product campaign. Place the cutout over your own canvas and adjust its position around the copy. The subject can become part of the composition without bringing its original surroundings along.

A fresh point of view

A little zest.

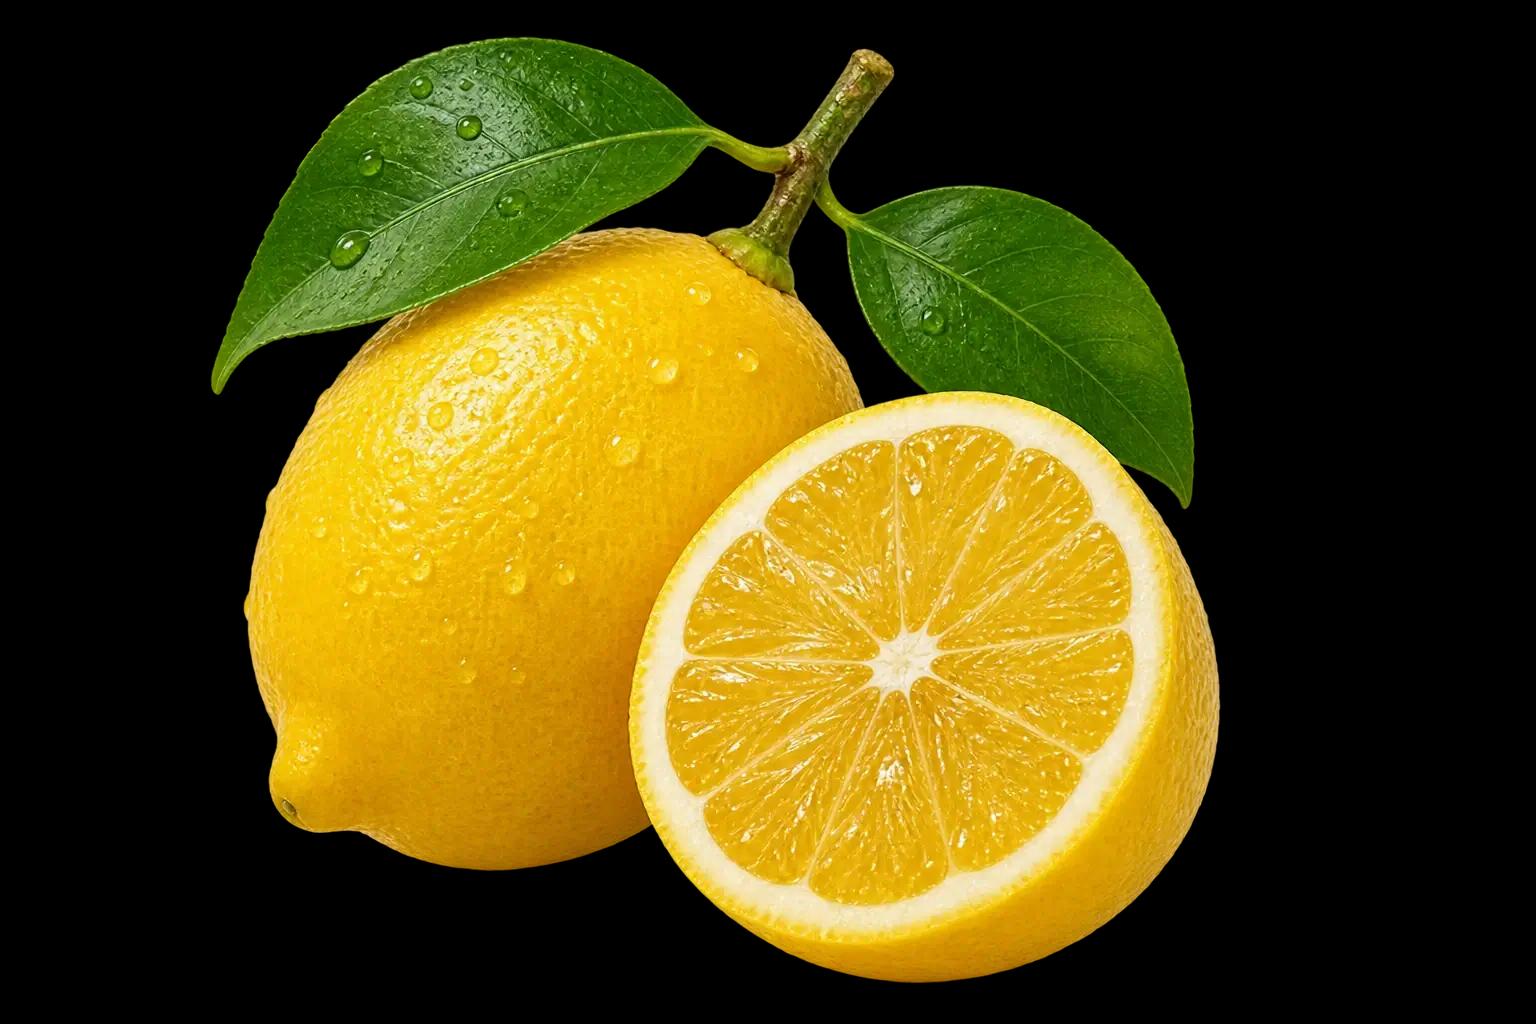
A whole yellow lemon with green leaves and a cut lemon half on a transparent background

Use an everyday object as a graphic element in an editorial layout. A transparent still life can sit beside a recipe, a seasonal story, or a bold title, with the background color supplied by the design around it.

Start with the photo you have.

A café setting, a garden, a busy room. Separate the subject from its surroundings and download an image you can arrange on a different canvas.

The cutout appears here, ready to download and bring into your next layout. Work with the subject as its own element in your editor: a product can sit beside a description, and a person can share a banner with a title or a name.

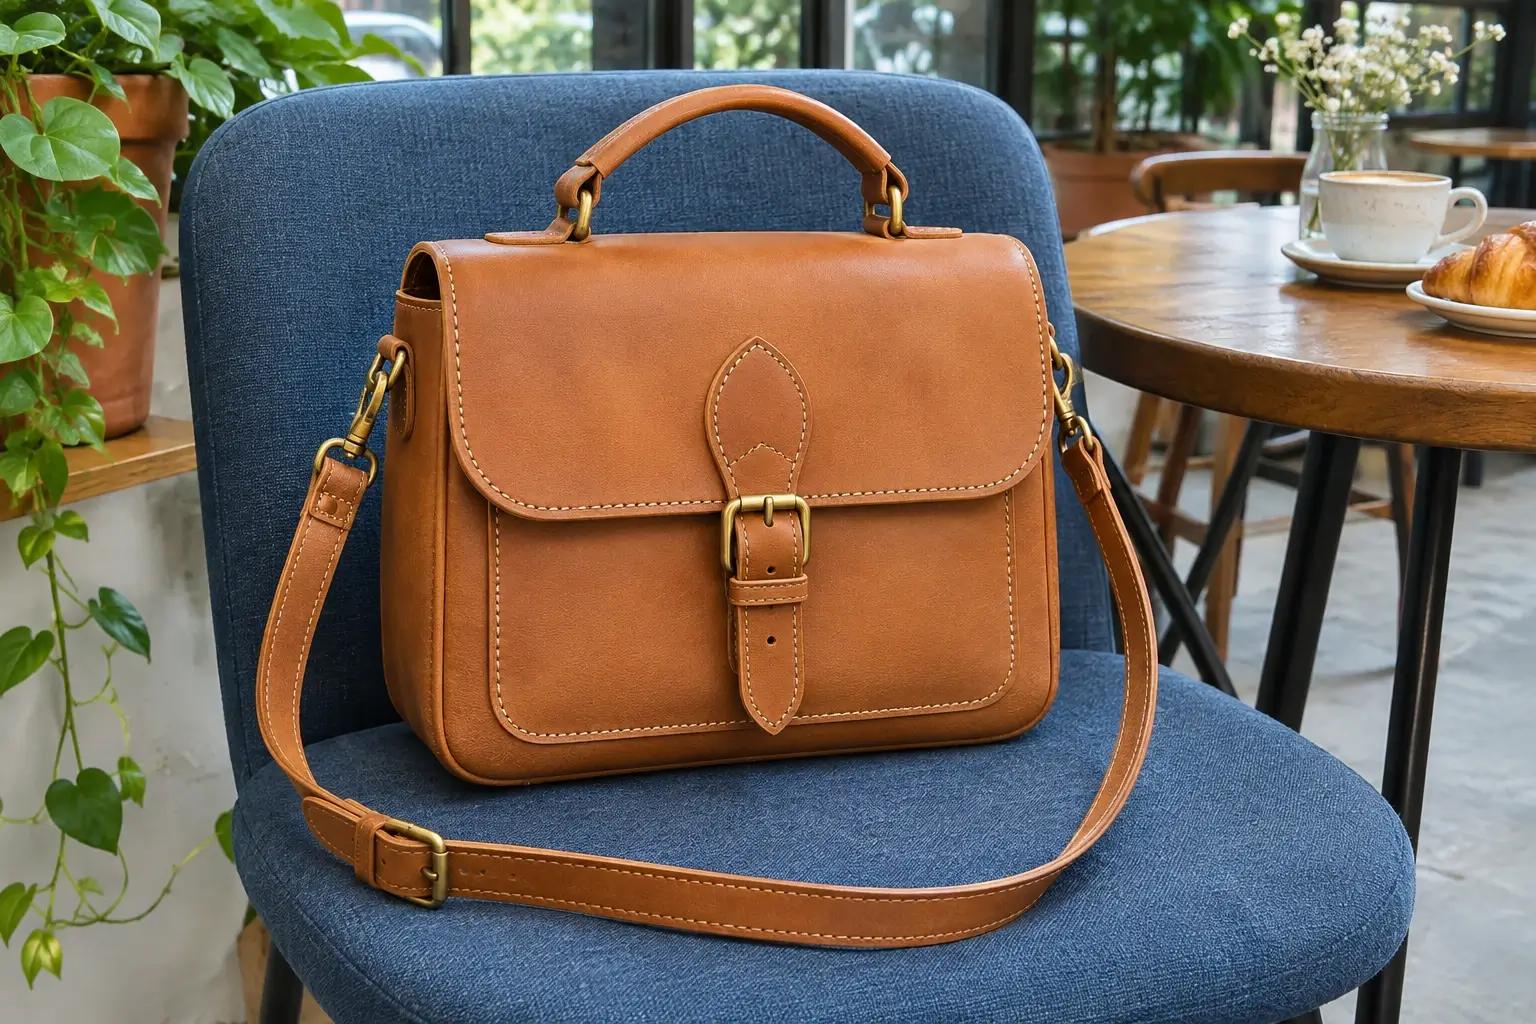
Tan leather satchel on a blue chair in a café before background removal
Portrait of a woman with loose curls against a garden before background removal

More room for the design around it.

Choose the subject’s position

Move an item or a portrait to where the composition needs it. In your editor, adjust the cutout’s scale and position around a headline, a description, or another image. The original photo frame no longer decides where the subject has to sit.
Give the message some space

Choose a solid color for a quieter canvas or an illustrated setting for a different mood. Let the person or product lead one part of the layout while a name, an offer, or a short introduction has a clear place of its own.

Keep a reusable subject

Bring the transparent file into a square post, wide banner, or slide. Keep that original cutout as a reusable asset, then export a finished layout for each place you want to share it. One photo can supply the subject for several different designs.

How to remove an image background

Take the subject from your photo into your next layout.

  1. Upload button in the background remover

    Add your image

    Select Upload/Drop Image and choose your photo.

  2. Image preview controls shown with a sample transparent satchel

    Check the cutout

    Review the subject and its edges when the cutout appears.

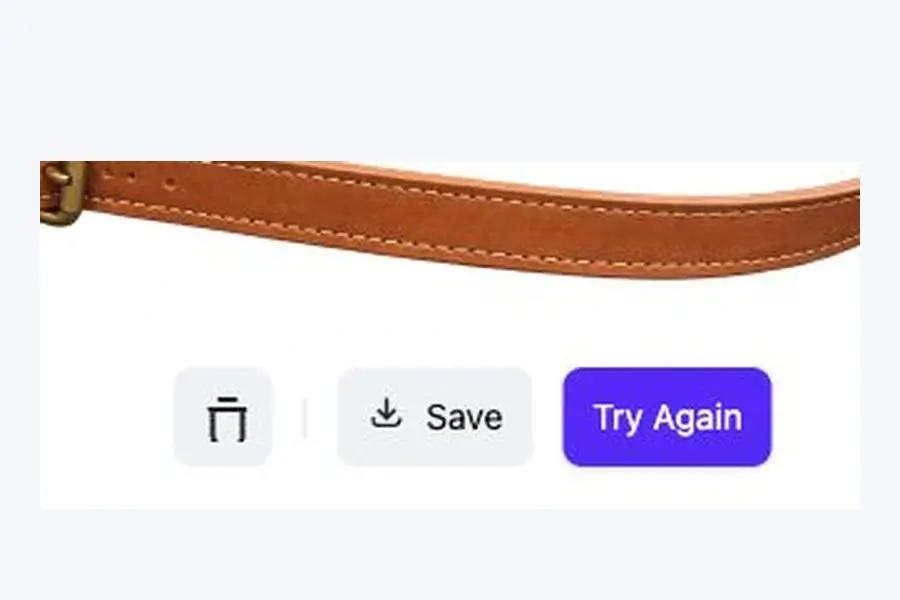
  3. Save control below the transparent image preview

    Save the cutout

    Select Save to download the transparent image for your next design.

Working with a transparent image

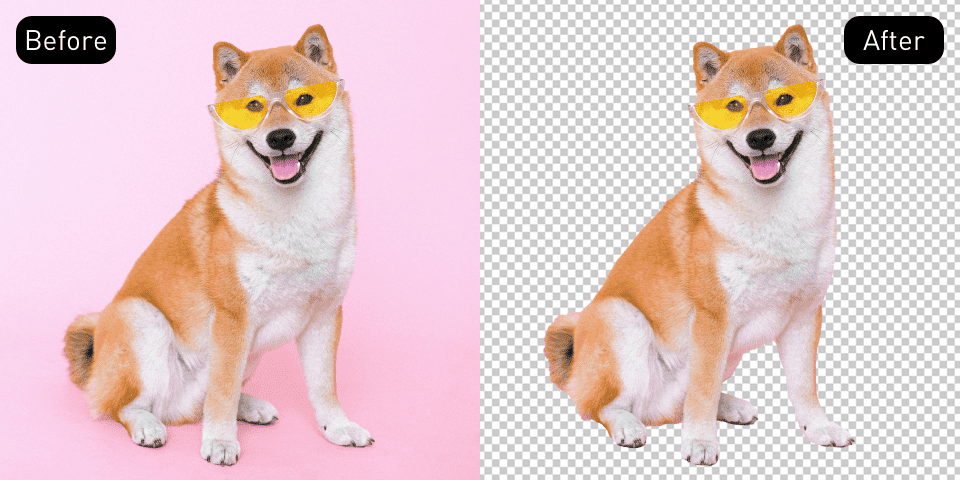
Will the downloaded background be transparent?

Yes. Some viewers show transparency against a solid color. Place the file over another canvas in an image editor to see the transparent areas.

Can I change the background on this page?

This tool produces the cutout. Use your downloaded file in a separate editor to create layouts like the concepts above.

What about hair or transparent objects?

Fine strands and transparent materials can be harder to separate. Review those edges before placing the cutout in a finished design.

How do I keep the transparency in another design?

Keep the original download. In your editor, use a format that supports transparency when you want a reusable cutout rather than a flattened final image.

Let the subject lead your next design.

Start with the cutout. For an original setting, explore text to image and combine them in your editor.

Remove an image background