Text to Image AI Generator

From imagined worlds to bold still lifes, turn a written idea into an image.

0/500
Style

    Small prompt. Big imagination.

    Dream up a world, shape a product scene, or explore an illustration. Put the idea into words and give it a visual direction.

    Use text to image to explore a visual before you have a photograph or a finished illustration. A setting, a material, or a color palette can become the starting point for a story, a moodboard, or a design you want to develop.

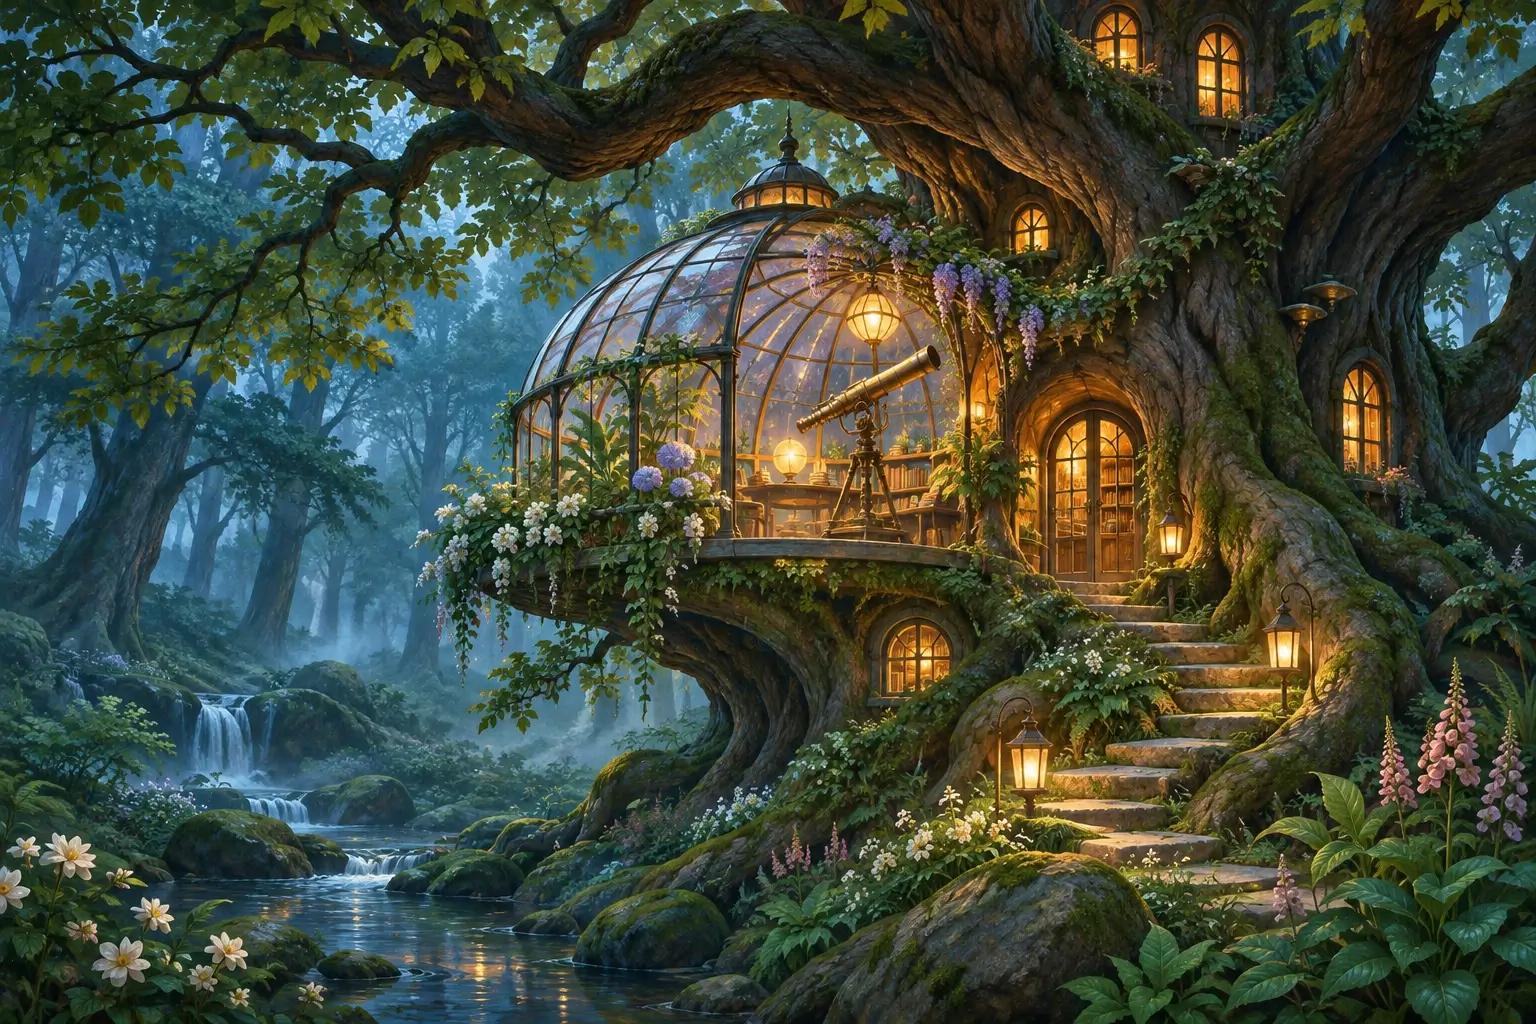
    A glowing glass observatory built into a giant tree in a misty forest
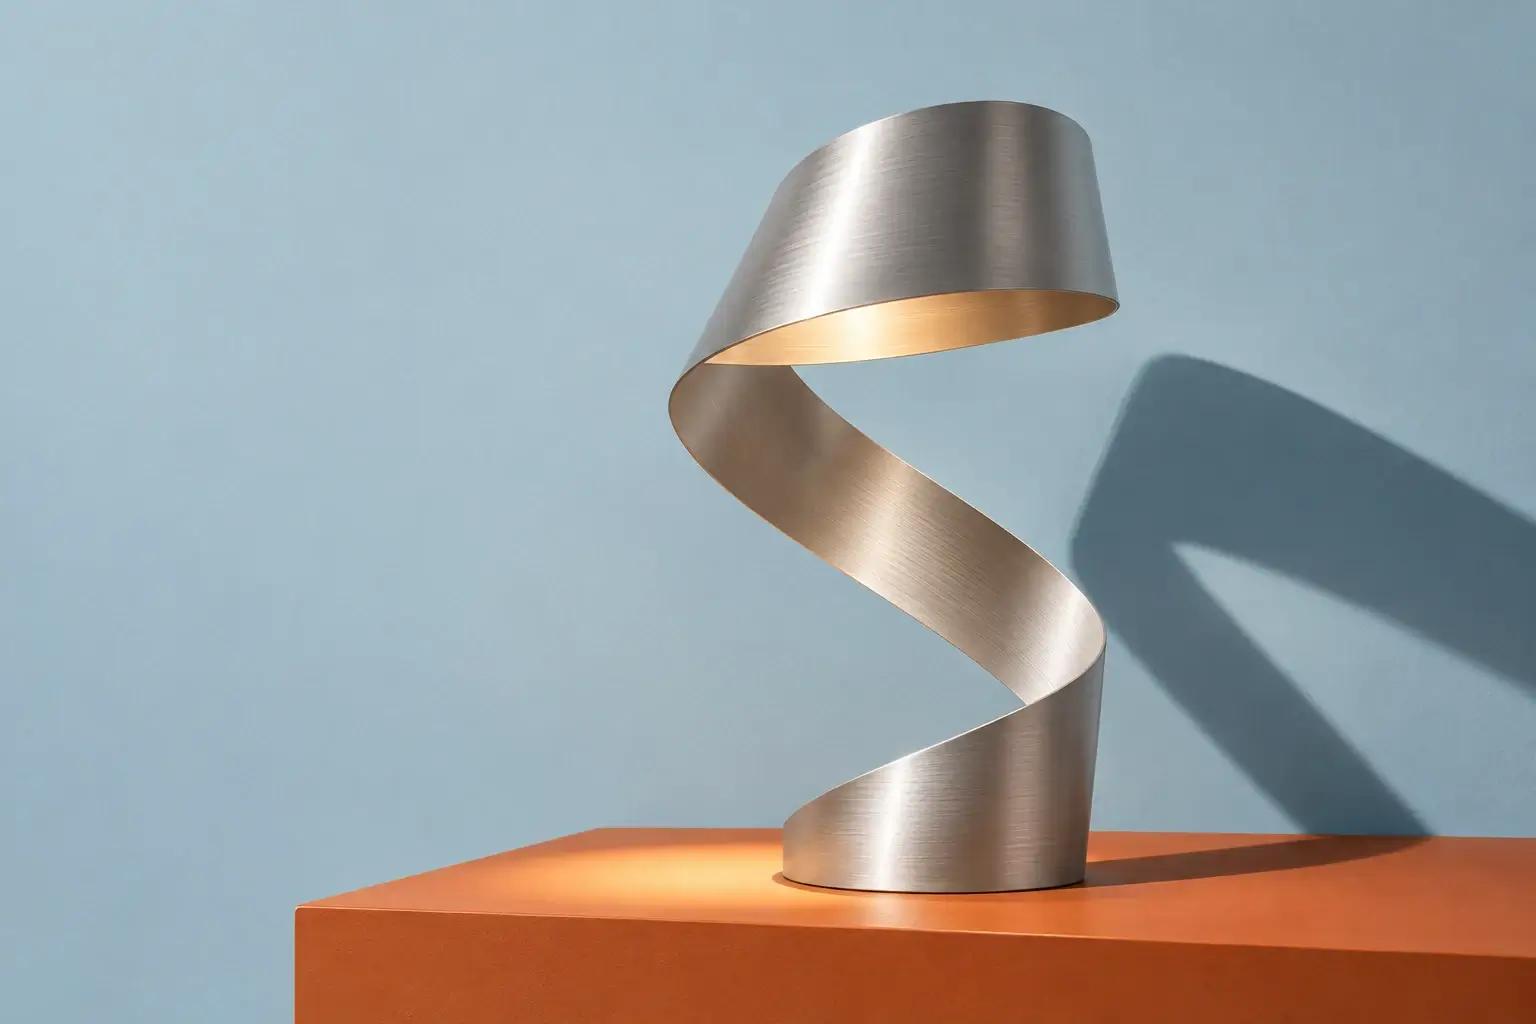
    A folded brushed-silver lamp on an orange block against an ice-blue studio wall
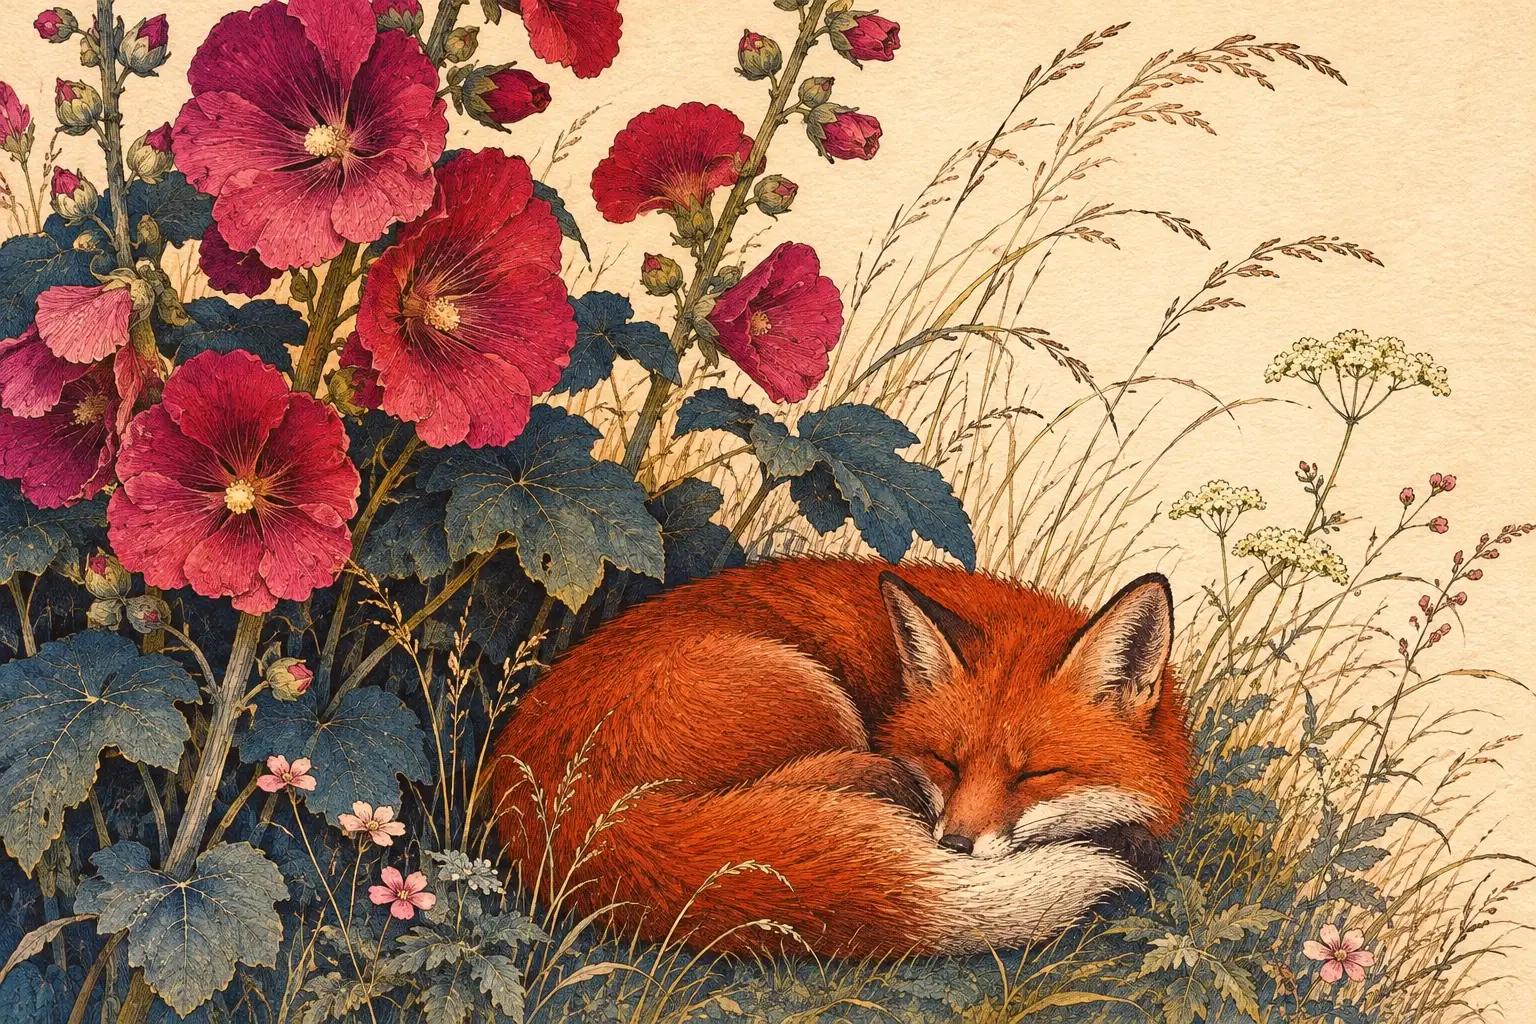
    A red fox curled beneath magenta hollyhocks in an ink-and-paper illustration
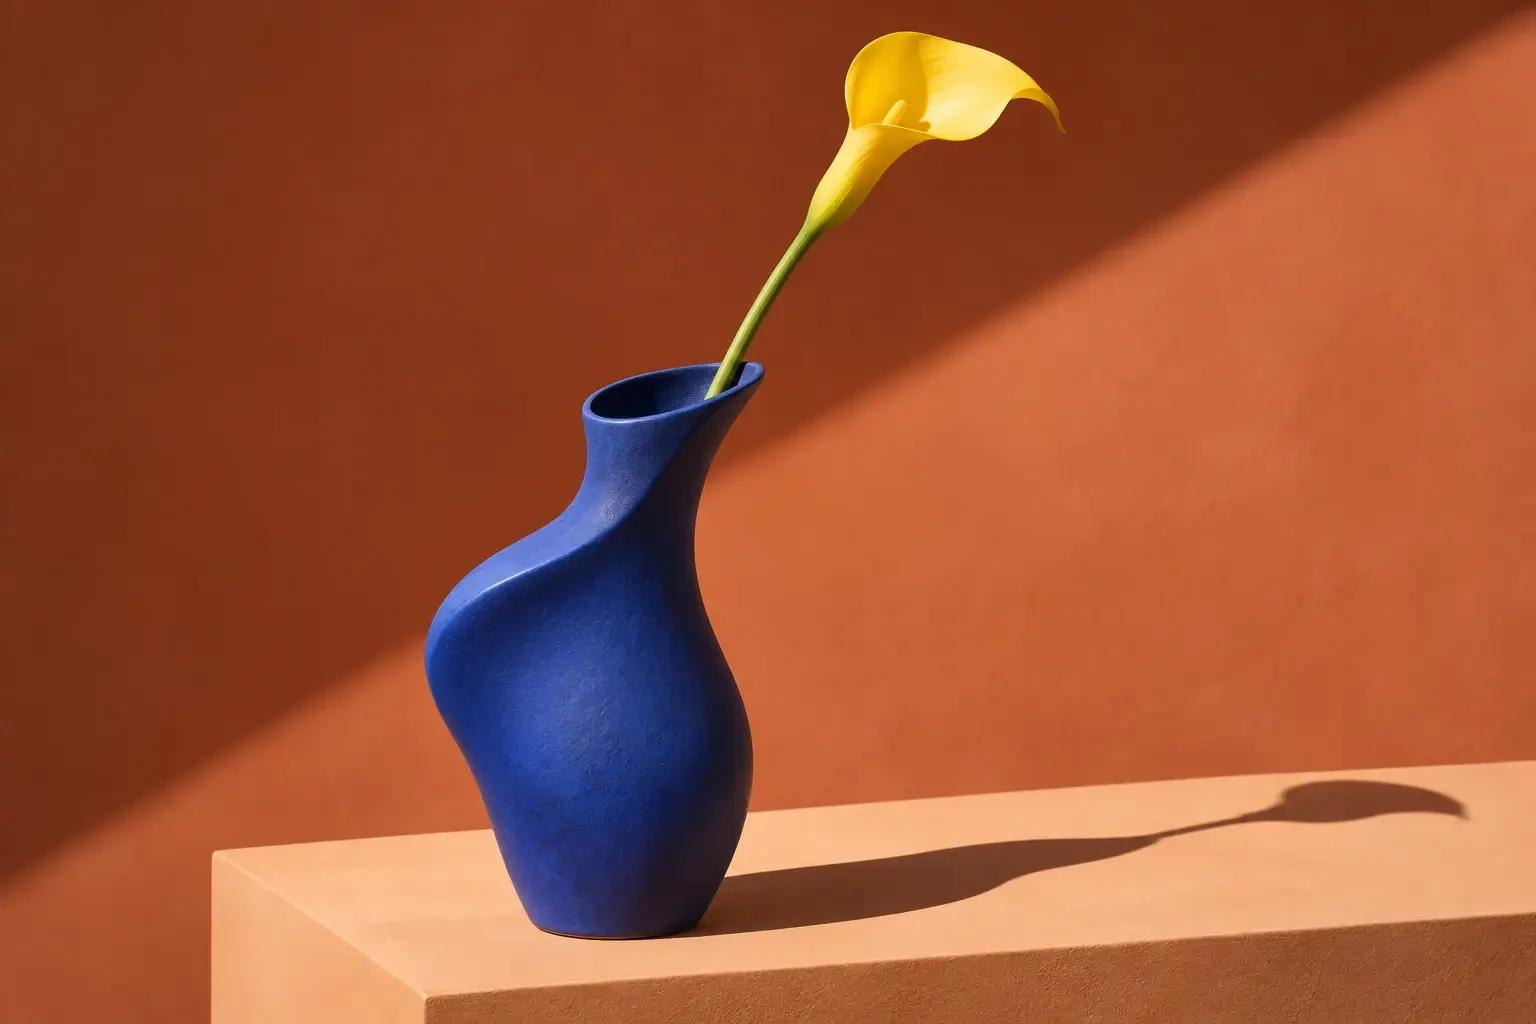
    A cobalt-blue ceramic vase and yellow calla lily on an apricot plinth

    Your idea, with a point of view.

    The subject is only the beginning. Color, material, and light turn a simple vase into a striking still life. Describe the details you want to lead the image.

    “A cobalt-blue ceramic vase, one yellow calla lily, an apricot plinth, and long afternoon shadows.”

    Choose a style and size from the tool, then create a starting point for a moodboard, campaign, or personal project.

    Keep the object and change the art direction: cool daylight for a quieter image, a bold backdrop for a product story, or a closer view to emphasize the material. These choices help you explore how the same idea could look across different creative treatments.

    Create your own image
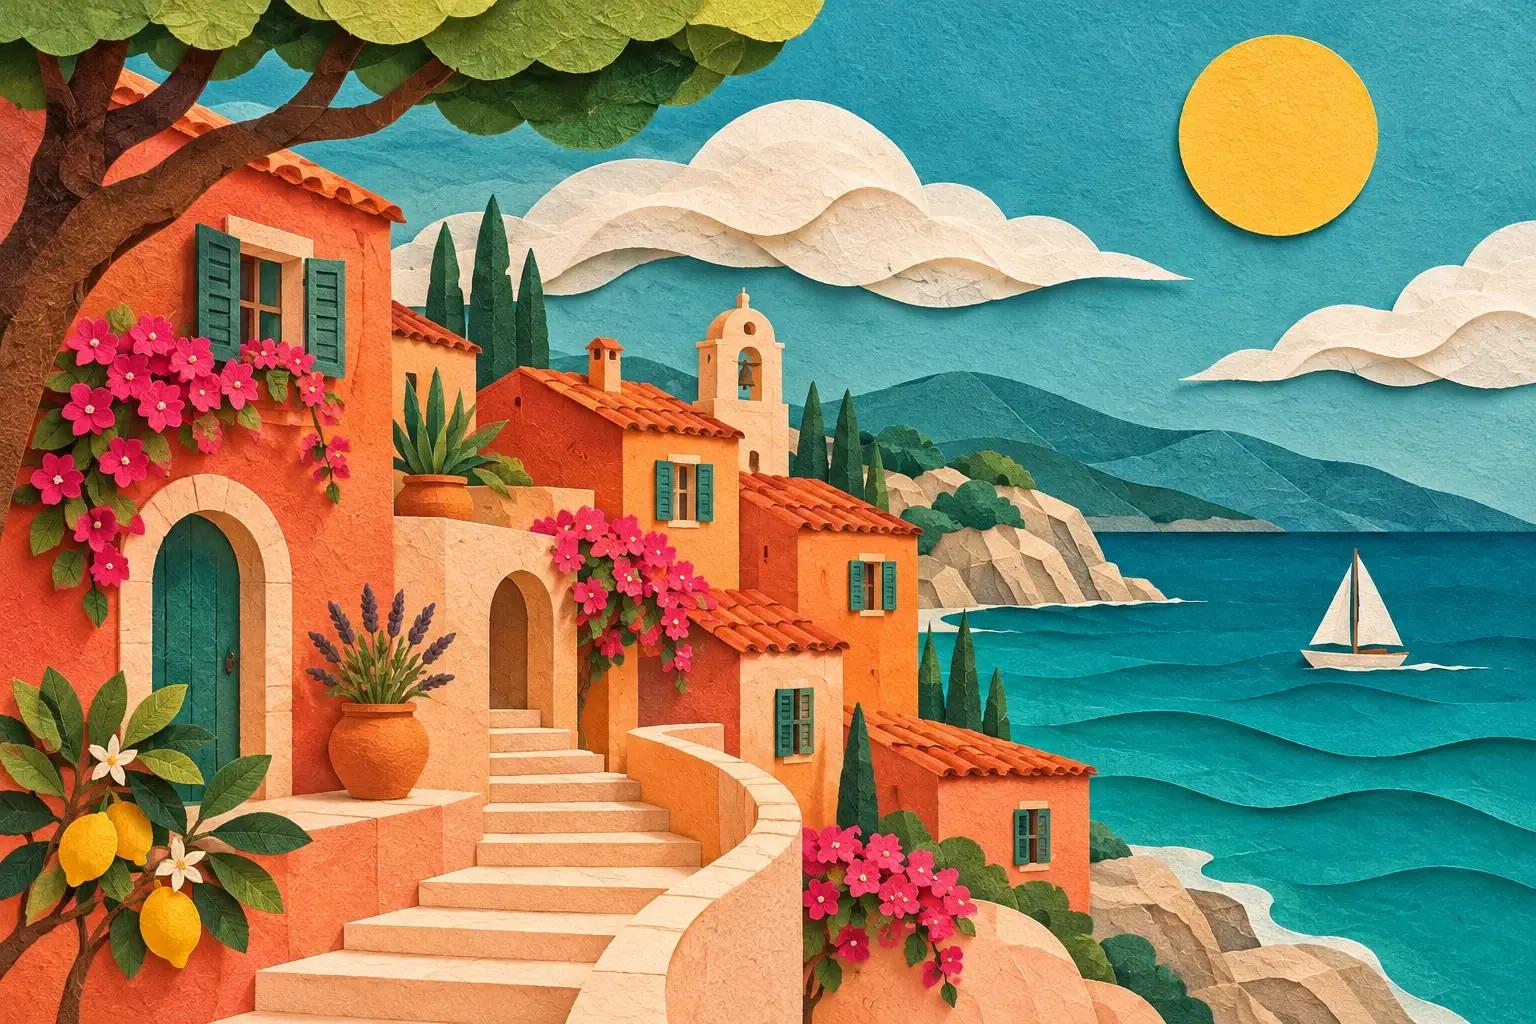
    A coastal village built from layered paper with terracotta roofs and turquoise water

    Change the medium. Change the mood.

    Layered paper, loose ink, or painted texture can take the same subject somewhere new. Describe what the scene is made of, as well as what is in it.

    For a paper village, mention overlapping layers, folded rooftops, and shadows between the shapes. For an ink illustration, describe the line work and the color accents. Those details give the image a recognizable visual language for an invitation, an editorial illustration, or a personal project.
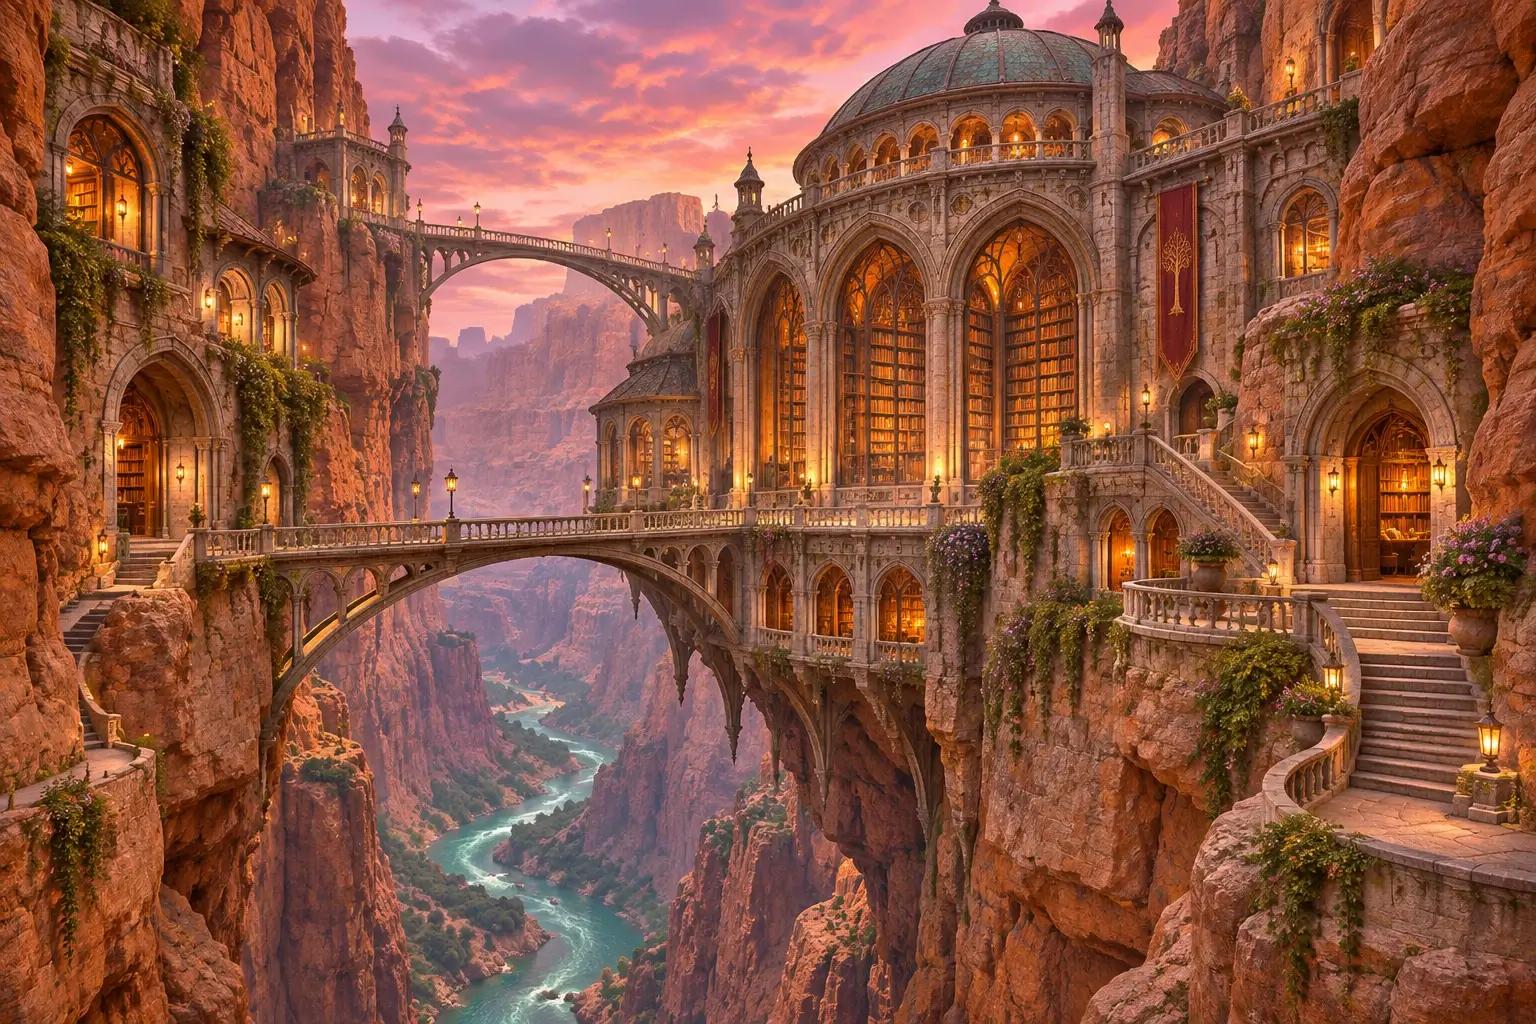
    An imaginary stone library and bridges suspended between ochre canyon walls above a turquoise river

    Build a place that only exists in your head.

    A library suspended in a canyon. A warm window above a river. Give your next story a setting before you write its opening line.

    Describe the scale of the buildings, the time of day, and where the viewer is standing. A view from a narrow bridge feels different from a distant panorama. Explore a location for a story, a tabletop adventure, or a concept board you can share with a collaborator.

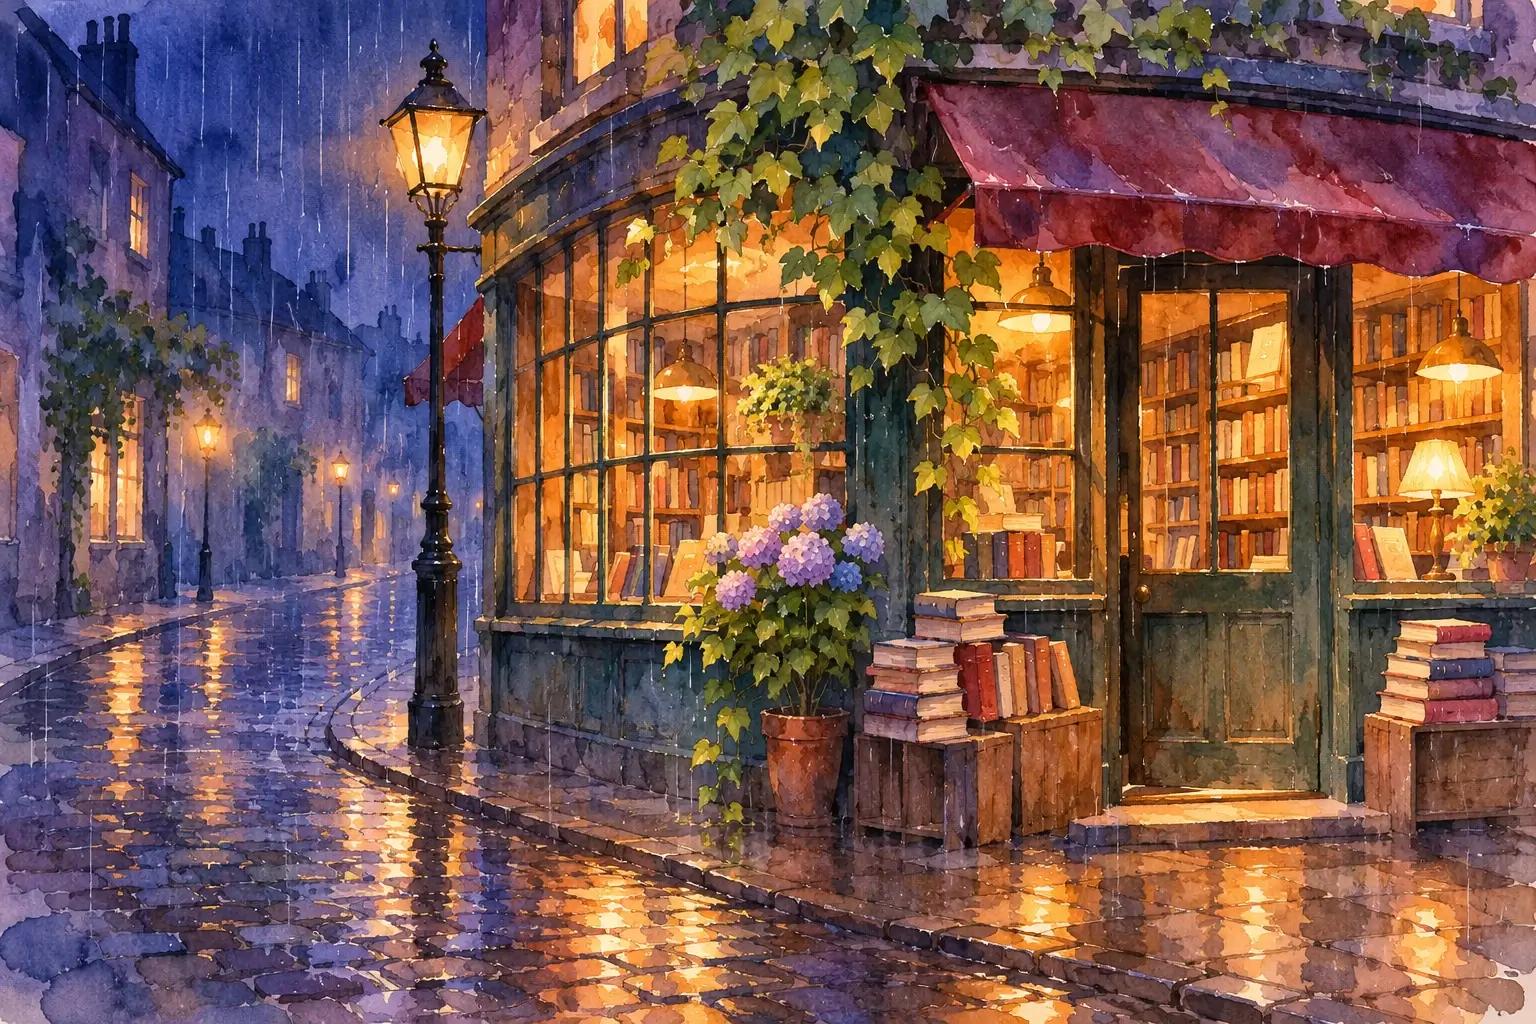
    A watercolor corner bookshop with warm windows reflected in a rainy street at night

    A few details make it your scene.

    Start with “a bookshop at night.” Add a place, a source of light, and a visual treatment to give the idea a more specific direction.

    “A tiny corner bookshop on a rainy street at night, warm light spilling through the windows, stacks of books by the door, a quiet watercolor illustration.”

    Keep the bookshop and try a snowy morning, or keep the rainy street and imagine a flower shop. Changing one part of the description gives the next image a clear purpose. Choose an available image size around the space you need for the subject and its surroundings.

    How to create an image from text

    Give your idea a subject, a style, and a place to begin.

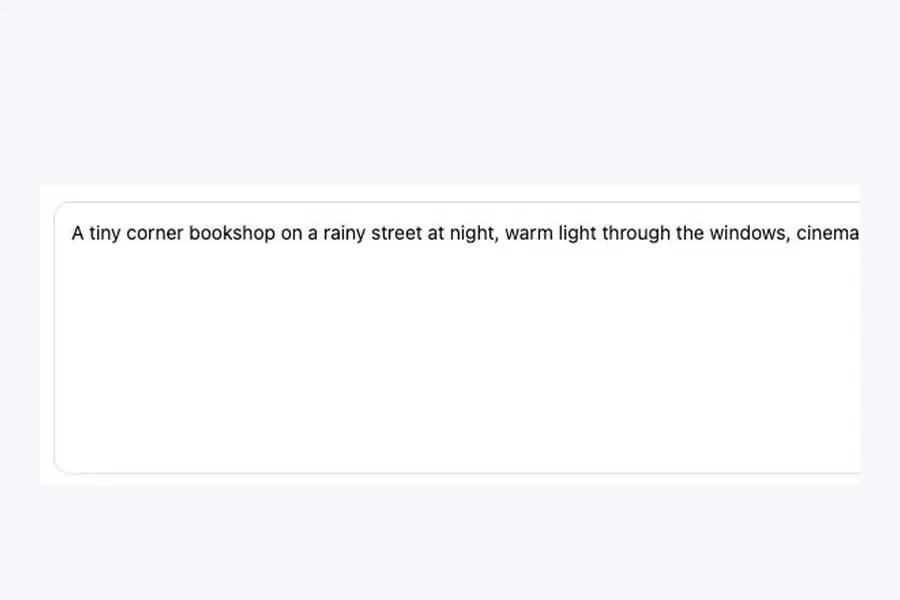
    1. Text prompt field with a bookshop description

      Describe your image

      Write your subject, setting, and the details you want to see.

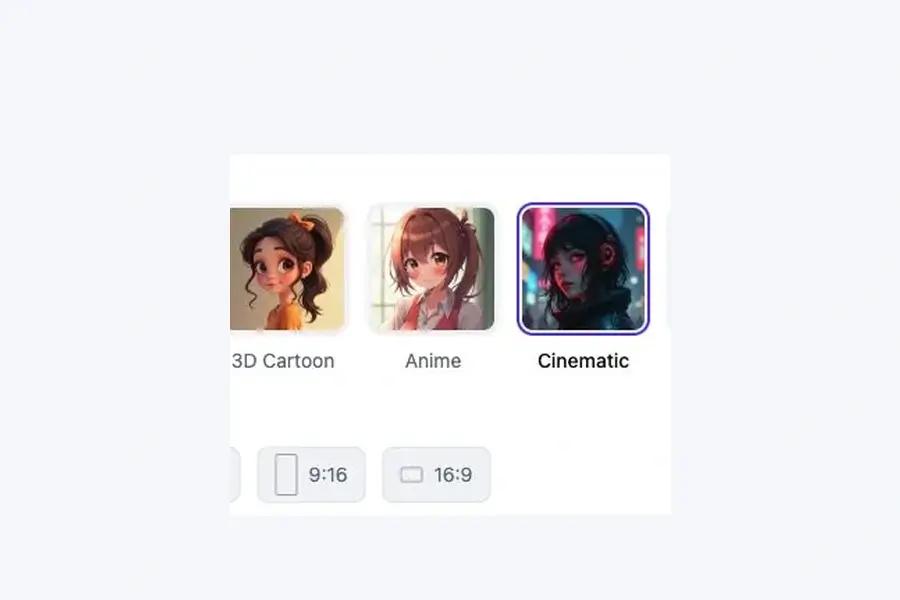
    2. Selected Cinematic style and available image aspect ratios

      Choose a style and shape

      Select a visual style and an aspect ratio for your image.

    3. Generate button in the text-to-image tool

      Generate your image

      Select Generate, then open the finished task to download your image.

    Your text-to-image questions

    How do I turn text into an image?

    Describe your subject, choose an available style and image size, and generate. Open the finished image on the task page to download it.

    Do I need a reference photo?

    No. Text to image starts with your description. To create a portrait guided by an existing face, use the AI Avatar Generator.

    What makes a useful prompt?

    Name the subject and add the details you care about: the setting, light, colors, or medium. A focused description is easier to refine than several competing ideas.

    Can I add precise text or a logo?

    Generated lettering may need correction. For a finished layout with exact copy or branding, add those elements in your design editor.

    Your next image starts with an idea.

    Put it into words. Find a direction worth exploring. You can also take a finished image into image to video.

    Create an AI image